DIY costumes: easy, homemade ideas built from things you already own
DIY costumes made easy: homemade ideas from things you already own, plus toolkit, techniques, difficulty tiers and step-by-step build guides.
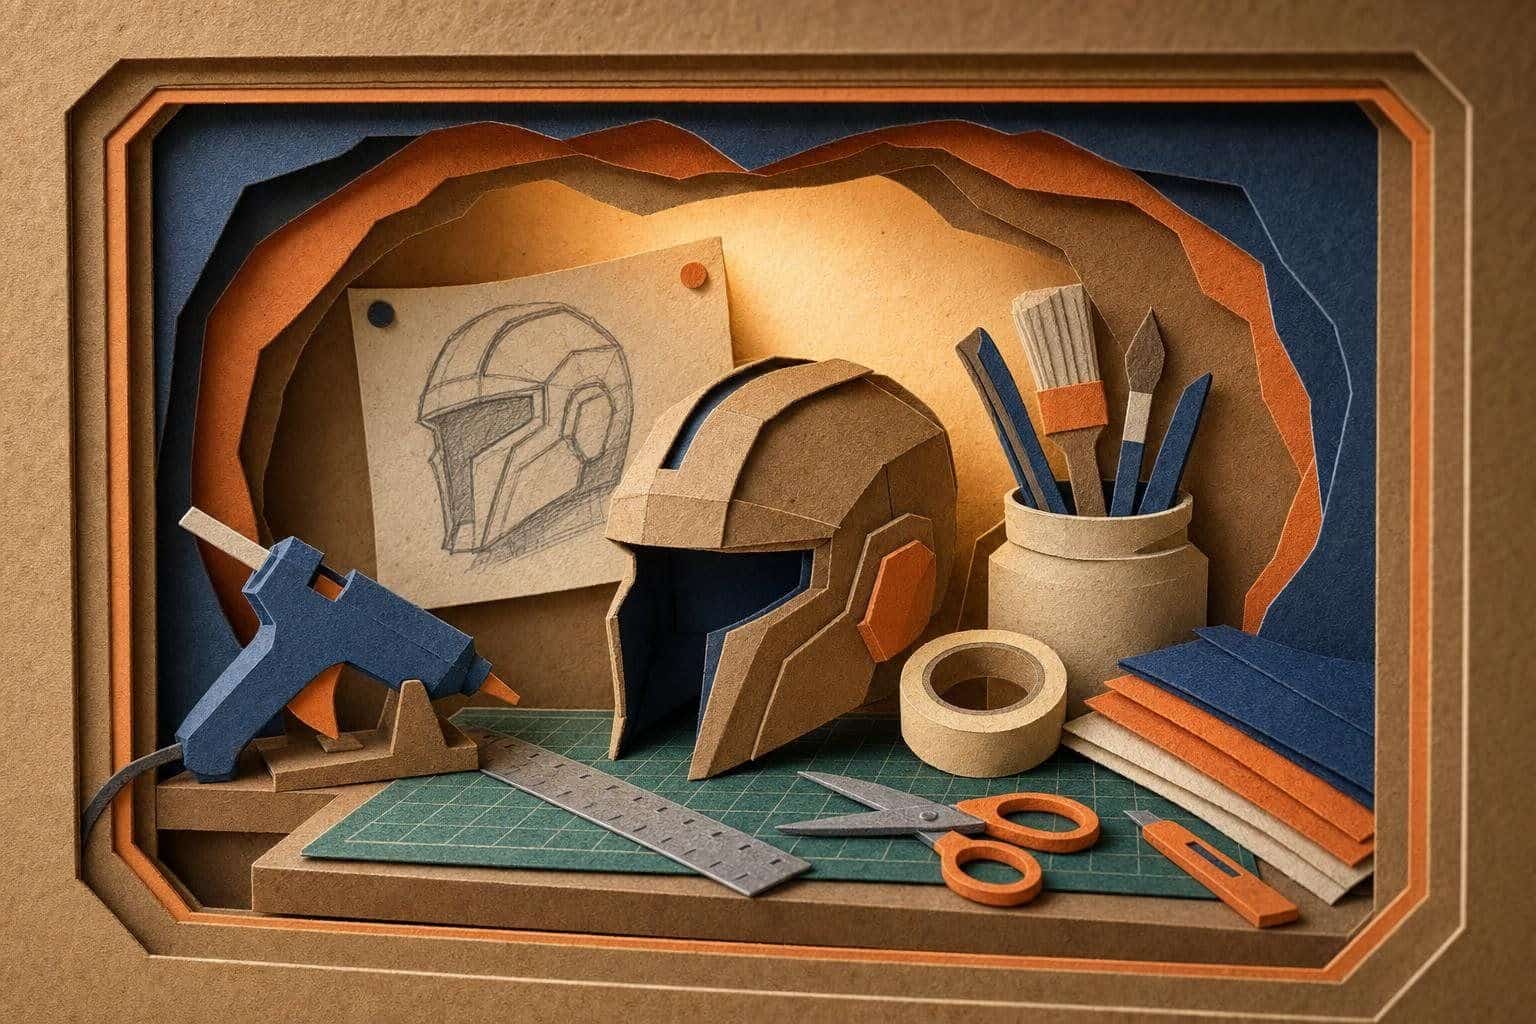
DIY costumes are less about skill than about planning, and that holds for DIY Halloween costumes as much as for school plays. Most of the looks people remember, from a cardboard robot to a hand-cut knight’s tabard, rely on a few reliable techniques, a handful of cheap materials and a clear idea of the one feature that makes the costume readable. This guide is the master reference for homemade costumes: the toolkit, the materials, the core techniques, how to plan a build, what to do when it goes wrong, and where to find step-by-step guides for specific costumes.
If you need ideas first, the costume ideas guide sorts looks by category, age and effort. If a child is involved, the kids’ costume ideas covers building with children.
Start with things you already own
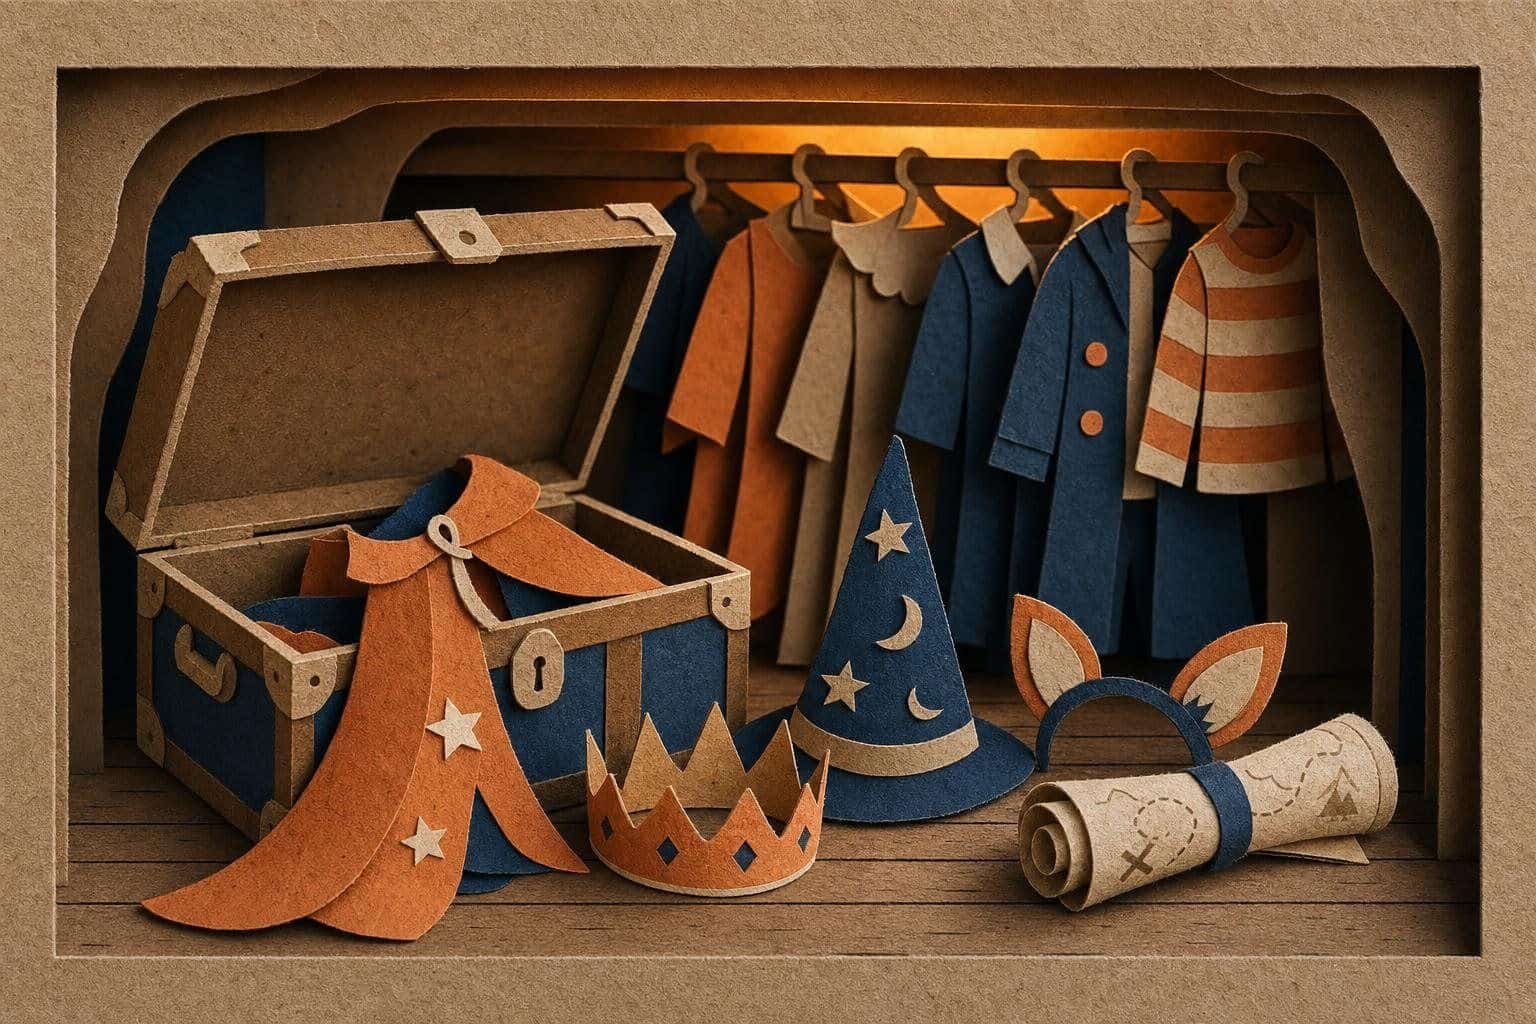
The most DIY thing you can do is use the wardrobe. A striped shirt, a dark coat, a pair of boots, a scarf, an apron or a white shirt is half a costume before you cut anything. Look through:
- Shirts and tops: plain colors for animals and heroes, white for chefs and doctors, plaid for scarecrows and lumberjacks.
- Dark trousers and skirts: the base for pirates, wizards, vampires and knights.
- Old coats, vests and waistcoats: instant layers for historical and adventurer looks.
- Scarves, belts and ties: sashes, capes and belts without making them.
- Pillowcases, sheets and curtains: capes, tabards and robes.
- Hats and gloves: a bowler, a beret or a flat cap sets a character in seconds.
Then ask what single item is missing. That item, and not the whole costume, is what you make.
The DIY costume toolkit
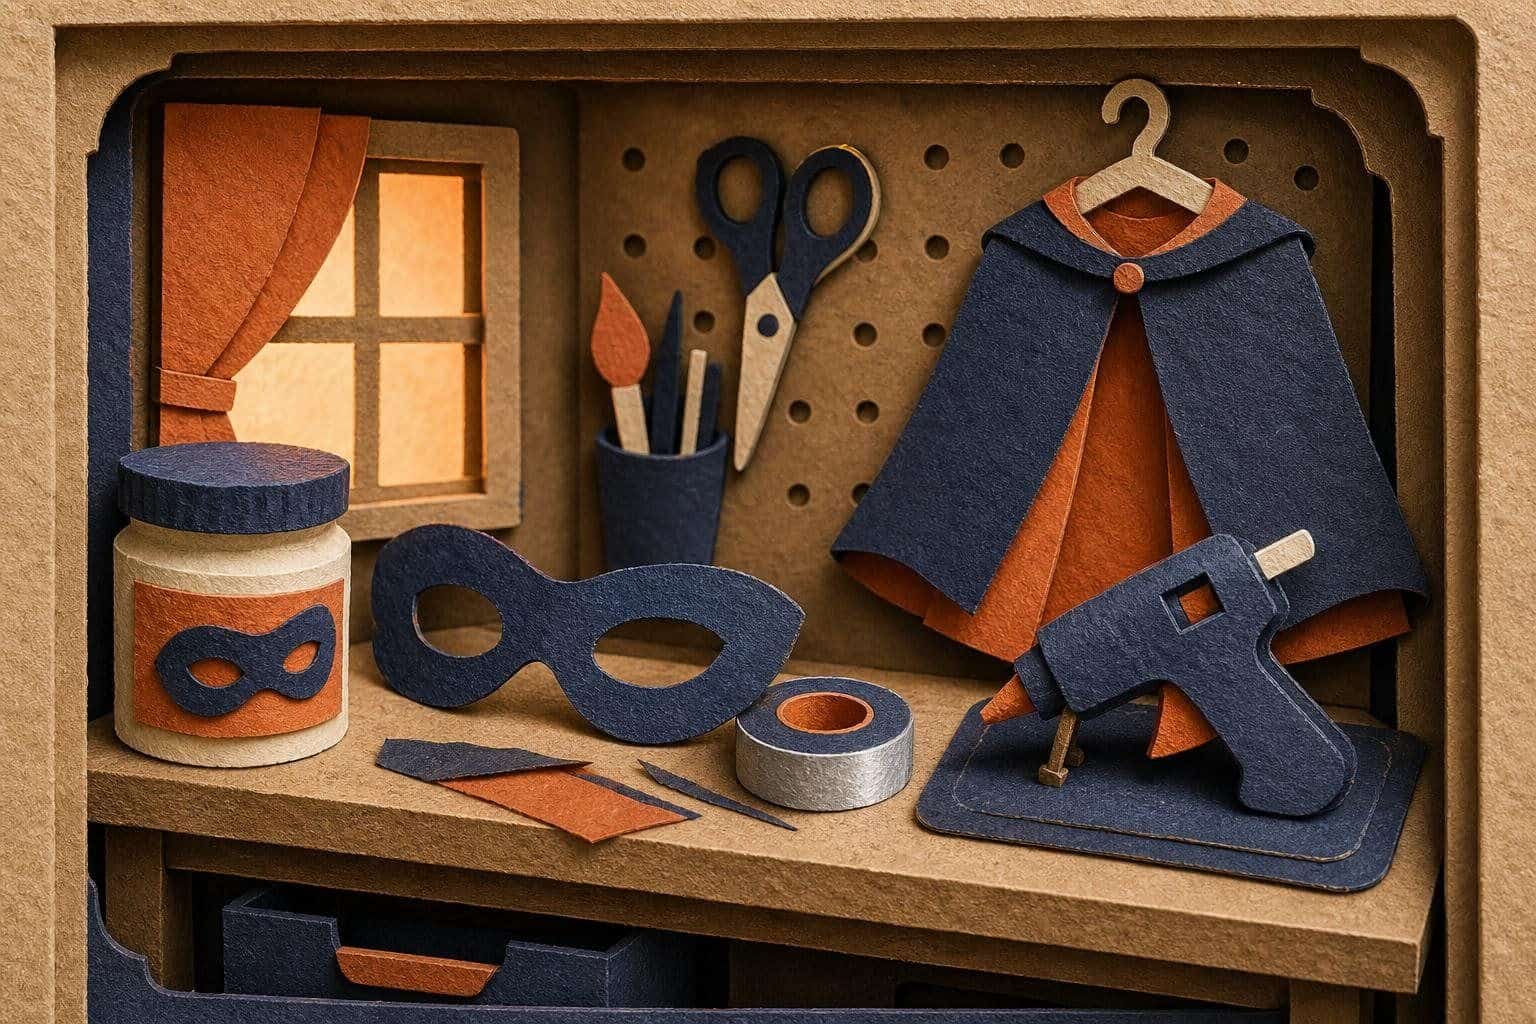
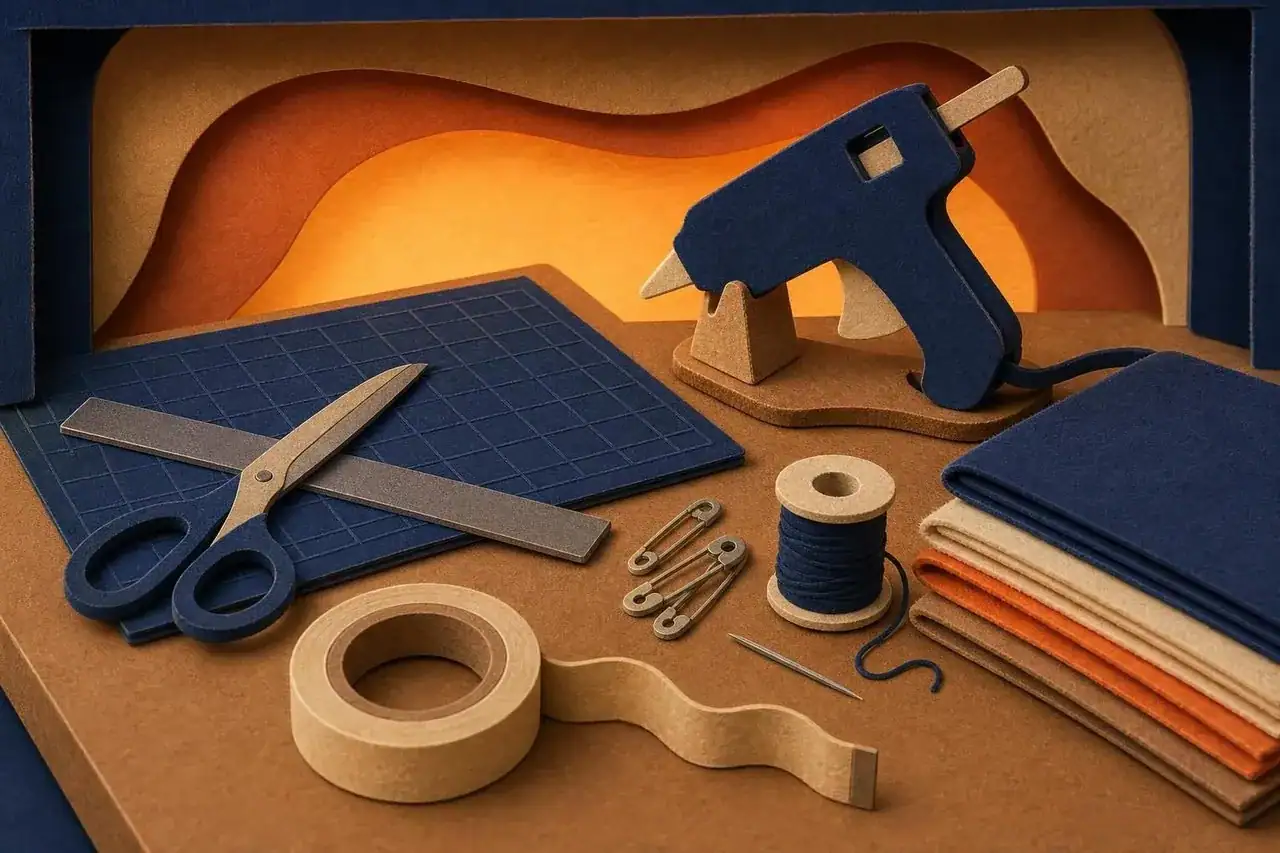
You do not need a workshop. This list handles almost everything on this site.
Cutting and measuring
- Sharp scissors, one pair for fabric and one for paper and cardboard.
- Craft knife or utility blade with spare blades. A sharp blade is safer than a dull one.
- Self-healing cutting mat or a thick piece of spare cardboard.
- Metal ruler for straight cuts and scoring.
- Pencil, marker and tape measure.
Joining
- Hot glue gun, ideally with a low-temperature setting.
- Fabric glue for cloth and felt.
- White craft glue for paper and light cardboard.
- Masking tape and clear tape.
- Safety pins, a stapler and clothespins for holding while glue dries.
- Needle and thread for small repairs, even if you do not sew.
Finishing
- Acrylic or craft paint in white, black, silver, gold, brown and a few colors.
- Brushes and sponges in several sizes.
- Primer or sealer for foam and cardboard.
- Elastic, ribbon and Velcro-style fastening tape for fit.
Safety
- Safety goggles when cutting foam or sanding.
- Ventilated space for glue, spray paint and sealers.
- A bowl of cool water within reach when using hot glue.
- A cut-resistant glove for the hand holding the work.
Materials for homemade costumes, by purpose
Choose materials by what the costume piece has to do, not by what looks interesting in the craft aisle.
| Purpose | Good materials | Notes |
|---|---|---|
| Capes and cloaks | Felt, fleece, old sheets, jersey | Fleece and felt do not fray |
| Armor and helmets | Corrugated cardboard, EVA foam, craft foam | Round all edges |
| Swords and props | Cardboard, foam, dowel | Keep them short and blunt |
| Hats | Cardstock, felt, stiffened fabric | Add a strap for stability |
| Wings | Wire, cardstock, tulle, felt | Balance weight carefully |
| Fur and texture | Faux fur, fleece, yarn, cotton batting | Brush to fluff |
| Padding and shape | Polyester stuffing, batting, foam sheets | Keep it breathable |
| Details | Paint, felt shapes, ribbon, buttons | Fix small parts firmly |
| Fastenings | Elastic, ties, hook-and-loop tape | Prefer breakaway for neck fastenings |
Nearly all of these can be sourced from things you already own, from the recycling bin and from scraps. For the finishing touches, the costume accessories guide covers hats, belts and wigs in more detail.
Core techniques
Cutting well
Good cuts make a costume look professional. Draw the shape first, cut slowly, and change the blade as soon as it drags. Make several light passes through thick cardboard rather than one heavy cut, and always cut away from your body onto a mat. Cut felt and fabric with fabric scissors, and use paper scissors only on paper.
Scoring and folding cardboard
Cardboard is the best low-cost costume material, but it breaks if folded carelessly. To get a clean fold:
- Mark the fold line with a pencil and ruler.
- Press a ruler along it and run the back of a craft knife or a blunt butter knife along the line, crushing the surface without cutting through.
- Fold away from the score, ideally along the corrugation ribs.
- For a curve, score parallel lines a finger-width apart and bend gently.
- Reinforce the fold with tape on the inside.
The reason for scoring is control: it tells the cardboard where to bend, so it does not buckle in a random place.
No-sew joins
- Hot glue bonds fast and holds cardboard, foam and felt. Use a low-temperature gun for felt and fabric. Work in small areas and press for several seconds.
- Fabric glue is washable and flexible. Hold with clothespins and wait for it to dry.
- Iron-on hem tape gives a clean finish on hems.
- Safety pins hold temporary shapes.
- Brass fasteners and punched holes give cardboard movable joints, useful for wings and puppets.
- Ties, elastic and loops replace buttons and zips.
Simple pattern making
You do not need commercial patterns for basic shapes.
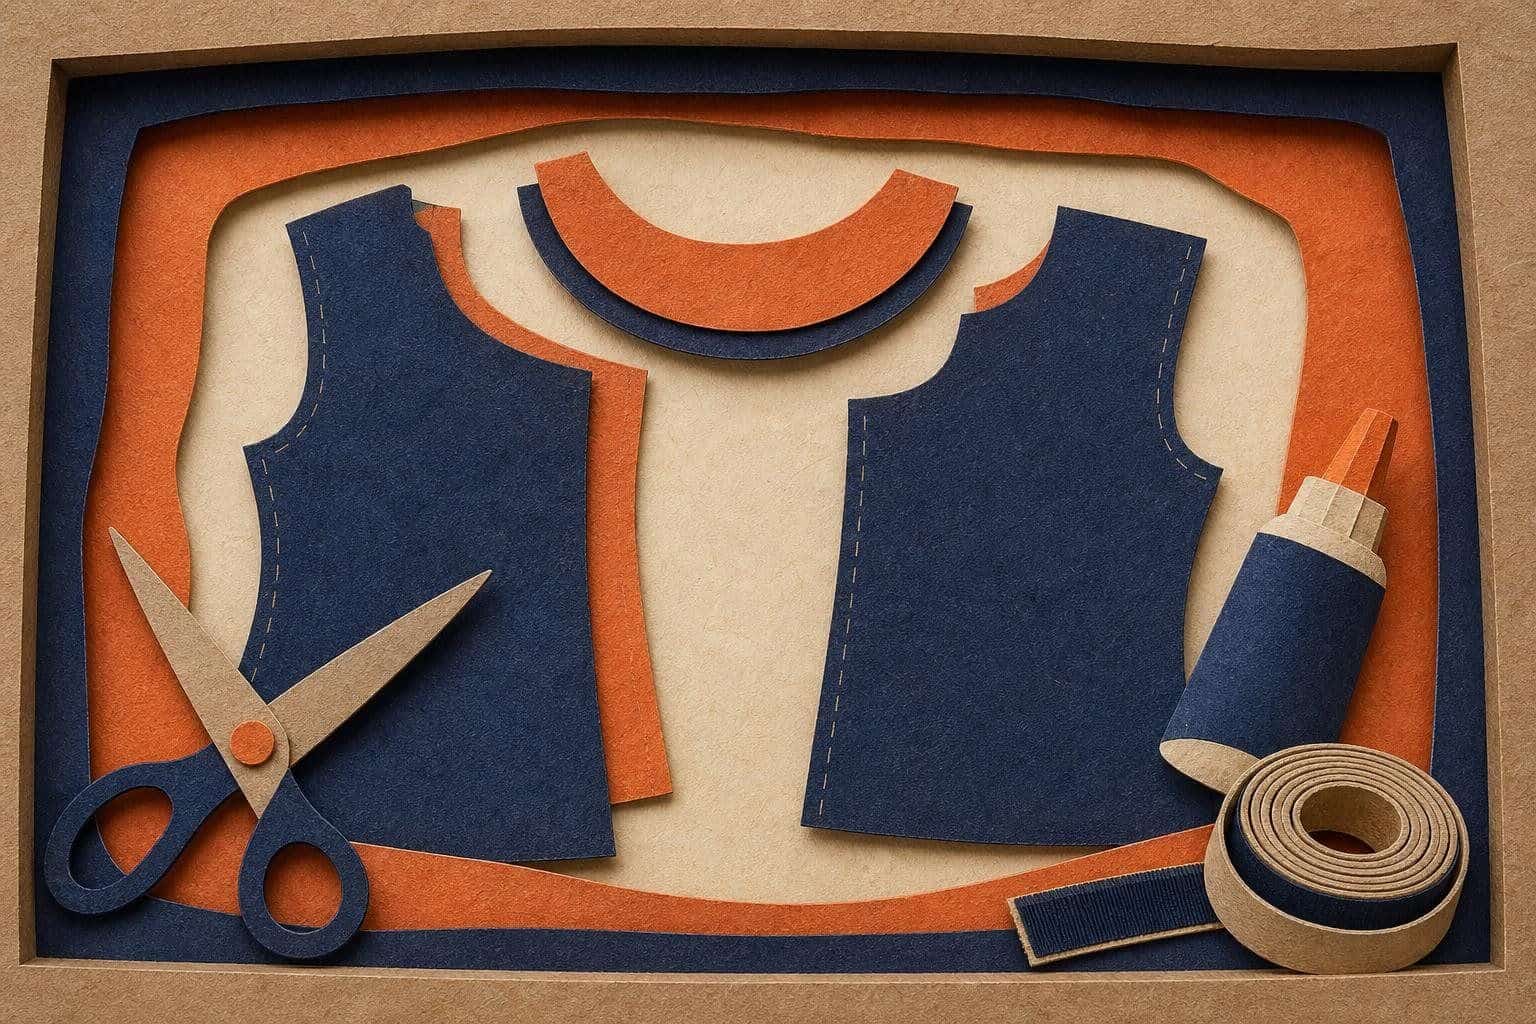
- Tunic: trace a T-shirt that fits onto newspaper, straighten the sides, add an inch for loose fit, and cut a neck hole.
- Cape: cut a half-circle for flow, or a rectangle for a short cape. Cut it a few inches above the ankles.
- Tabard: cut a rectangle with a neck hole, and join the sides with ties.
- Hat cone: cut a quarter-circle of cardstock, curl it, and tape the seam.
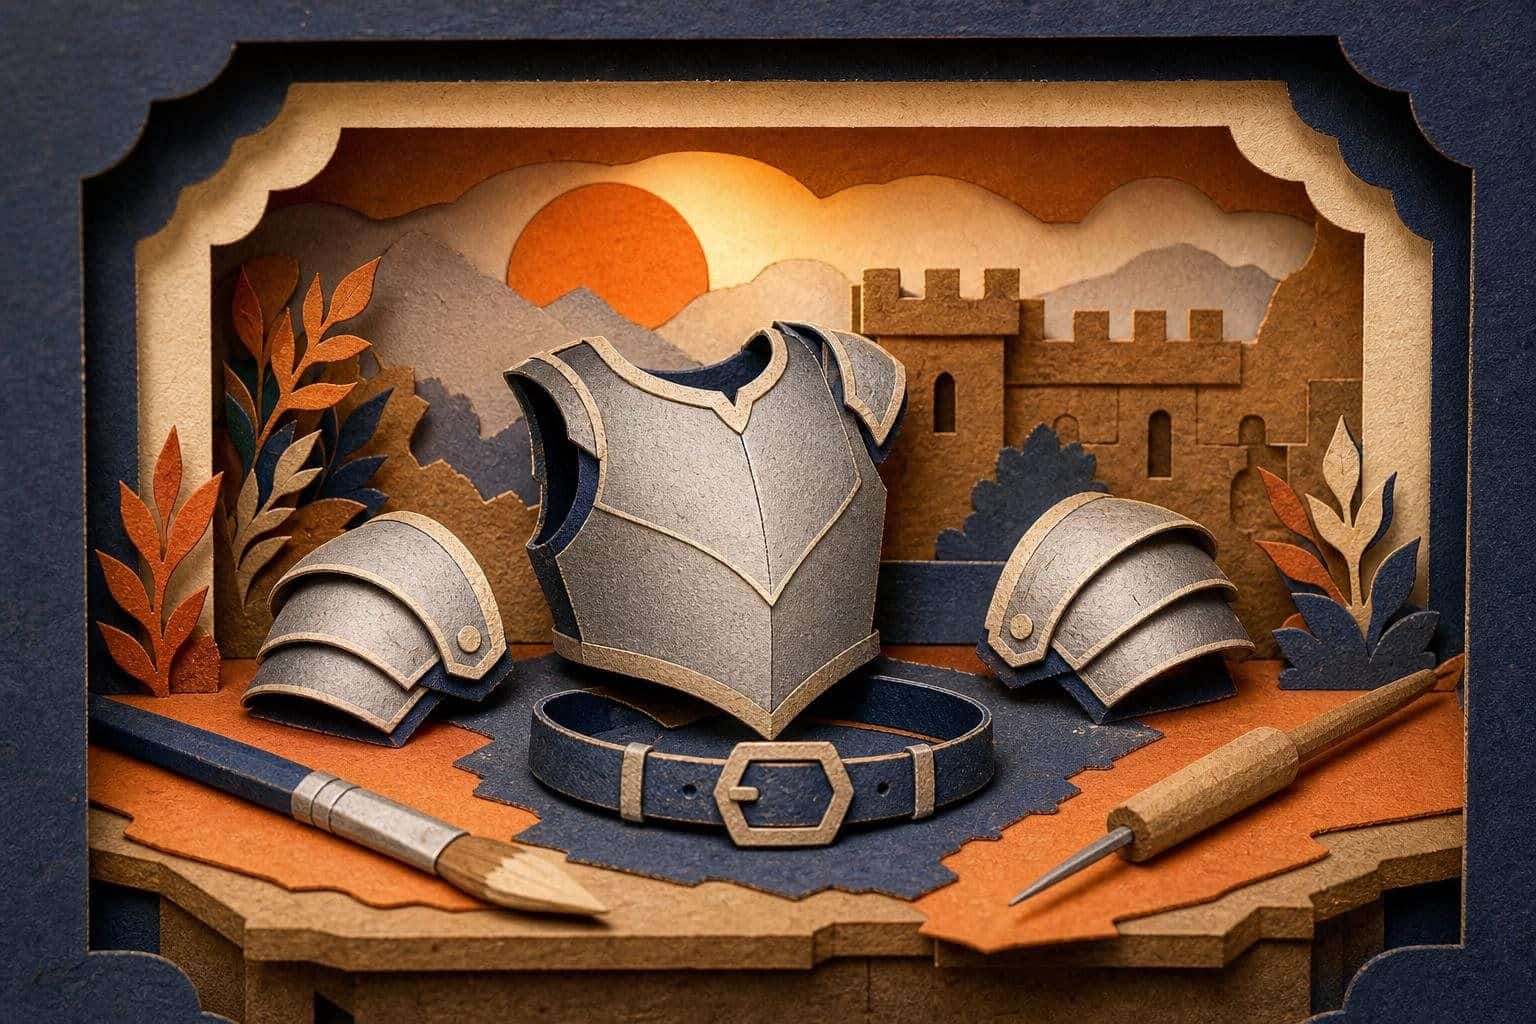
- Armor plates: cut paper templates and test them on the body before cutting cardboard.
Test every pattern on scrap fabric or newspaper first. The no-sew cape guide is a good beginner exercise, and it uses exactly these steps.
Painting and weathering
Paint is where cardboard turns into metal, wood or stone.
- Prime with white craft paint or a sealer, to stop the surface from soaking up color.
- Base coat in the main color, let it dry fully.
- Dark wash: brush on diluted brown or black paint, and wipe it back so it stays in the grooves.
- Dry-brush a lighter or metallic color across the high points.
- Seal with a water-based varnish for durability.
Do small tests first. Paint dries darker on some surfaces and lighter on others, and spray paint can eat foam, so check labels. Weathering changes a prop from toy to character.
EVA and craft foam basics
EVA foam is a dense, flexible foam used for armor, helmets and props. Craft foam sheets are thinner and cheaper, and they suit details and smaller pieces.
- Cutting: use a sharp blade and make a single steady pass. Change blades often.
- Shaping: gentle heat from a heat gun softens EVA so it can be curved, then it holds the shape when cool. Heat guns are for adults only.
- Joining: contact cement gives the strongest bond on foam, used in a ventilated space. Hot glue is quicker for less demanding joins.
- Sealing: foam is porous. Apply several thin coats of a flexible primer or sealer before painting, or the paint will crack.
- Safety: wear goggles when cutting, never use a heat gun or contact cement around children, and wear a mask when sanding.
The DIY Wonder Woman costume and the DIY Poison Ivy costume both show foam and fabric techniques in practice.
Wigs, ears and headpieces
- Ears: cut pairs from felt or foam, double them for body, and attach to a fabric-wrapped headband. A bent base makes them stand up.
- Horns and spikes: make cones from cardstock or foam and glue them to a headband or hood.
- Wigs: brush from the ends upward, secure with pins, and trim a little at a time. Use heat only on heat-safe wigs.
- Crowns: cut a strip of thick cardstock, decorate, and join it into a loop with a few inches of overlap so the size can be changed.
For wigs, hats and finishing details, see costume accessories. For the face, the costume makeup guide covers products and skin safety.
Padding and shape
Padding builds muscle, bulk, humps or fat suits.
- Use polyester stuffing or batting and shape it in a fabric pouch or tube.
- Pin or tie the pad inside the costume so it can be removed for washing.
- Keep the neck, underarms and joints free, so the wearer can move.
- Think about heat. Padding traps heat, so use thin layers for long events.
Difficulty tiers
Pick a tier that matches your time, tools and patience.
| Tier | Time (estimate) | Skills | Examples |
|---|---|---|---|
| 1. Wardrobe plus one | 10 to 30 minutes | Pinning, tying | Ghost, scarecrow, tourist, painter |
| 2. No-sew craft | 30 to 90 minutes | Cutting, gluing felt | Cape, ears and tail, paper crown, wizard hat |
| 3. Cardboard and paint | 2 to 5 hours | Scoring, painting, fitting | Knight armor, robot, helmet |
| 4. Foam and fabric | A weekend | Pattern making, foam work | Superhero armor, tiaras, wings |
| 5. Full builds | Several weekends | All of the above | Creature suits, large props, mascots |
Start at tier 1 or 2 for your first costume, and move up when you want to. Mixing tiers is common: a simple wardrobe base with one tier-4 prop is a strong approach.
Easy DIY costumes for beginners and for Halloween
Easy DIY costumes share three traits: one hero item, materials from the wardrobe and the recycling bin, and no step that needs more than an hour. Good homemade costume ideas for a first build include a ghost, a scarecrow, a cardboard robot and a cat with felt ears. For DIY Halloween costumes, add reflective tape and check that hems clear the ground before the first walk outside. More homemade costume ideas, with full steps, are in the build guides below.
Step-by-step build guides
These guides take specific costumes from start to finish, with materials, times, steps and variations.
- No-sew cape: the best first project. Felt or fabric, no needle, 20 to 30 minutes. It becomes a hero, vampire, wizard or royal cloak.
- Cardboard knight costume: helmet, tabard, shield and sword from boxes. A good tier-3 build and a favorite for kids.
- DIY Wonder Woman costume: tiara, bracers and a tunic using foam and fabric. A tier-4 project.
- DIY Poison Ivy costume: a leaf-covered look using fabric and foam details. Also tier 4.
Theme pages elsewhere on the site also explain how to make individual pieces. For example, the pirate costumes page shows safe swords and chests.
Plan the build
A little planning prevents most DIY disasters.
- Pick the character and the one hero item. Everything else supports it.
- Gather reference images. Look at the shape, the colors and the main details.
- Check what you own. List the clothes, then list what is missing.
- Sketch it. A rough drawing with measurements helps.
- Make a materials list and a timeline. Allow drying time for glue and paint.
- Build the hardest part first. If the helmet fails, you want to know early.
- Test fit at the halfway point. Wear it, sit down, walk up stairs.
- Finish, then rehearse. Wear the complete costume at home for at least ten minutes.
For a simple look, a weekend is plenty. For foam armor or a patterned garment, give yourself two or three weeks. If you are not sure where to begin, the costume idea finder can narrow the options by time and budget.
Troubleshooting
| Problem | Likely cause | Fix |
|---|---|---|
| Cardboard buckles when bent | Not scored | Score the fold line and add tape inside |
| Glue seams pop | Wrong glue or not enough time | Use contact cement on foam, hold longer |
| Paint cracks on foam | Surface not sealed | Seal with flexible primer and thin coats |
| Hat slides off | No anchor | Add elastic under the chin or hair clips |
| Cape pulls at the neck | Heavy fabric, narrow tie | Use wider ribbon or hook-and-loop fastening |
| Costume too hot | Too many layers or padding | Use thin layers, add ventilation holes |
| Wig looks flat | Not styled | Pin, spray and shape on a head form |
| Colors look dull | No contrast | Add a dark wash and a bright accent |
When a costume looks wrong, the cause is usually the silhouette. Squint at it, and ask whether the main shape is clear. Simplify, enlarge the main feature, and remove the details that compete with it.
Safety in the workshop
Making costumes involves tools, glue and sometimes fumes, so a few rules matter.
- Supervise children. Hot glue, craft knives and heat guns are adult tasks. Children can paint, tear, stick and cut with safety scissors.
- Keep blades sharp and cut away from your body. Replace blades frequently.
- Ventilate. Open windows when using contact cement, spray paint or sealers, and follow product labels.
- Protect your hands. Hot glue burns badly. Keep cool water nearby and treat burns right away.
- Mind the finished costume. Check hems, vision, breathing and flame resistance. Do not use candles or lanterns near homemade costumes.
- Test makeup. Patch test skin products a day ahead.
The costume safety guide covers wearing safety in full.
Adapting a build for a child or an adult
For a child: use lighter materials, round every edge, avoid small parts, make fastenings breakaway, and let the child do the safe jobs. See kids costumes for the child-specific details.
For an adult: scale up the pattern, add more structure for heavier pieces, plan for comfort over a long event, and add a padded harness or straps if a prop is heavy.
For both: build the costume in layers, so pieces can come off when the wearer is hot, tired or sitting.
Make it last, and reuse it
A good DIY costume can be worn many times.
- Store flat in a labeled box, and keep delicate parts separate.
- Make parts detachable, so capes, ears and props can be reused with other outfits.
- Repair promptly. A few drops of glue early prevent bigger damage.
- Pass it on. A school box, a swap or a younger sibling extends its life.
Many of the best costumes start as parts of an older one.
Next steps
Choose a tier, pick one of the build guides above (easy DIY costumes are a good place to begin), and gather the materials. If you want inspiration, browse the costume ideas guide. If you want to build with a child, start with the kids’ costume ideas.
In this guide

Questions people ask
What do I need to start making DIY costumes?
What is the easiest DIY costume for a beginner?
What is the best glue for costumes?
How do I make cardboard look like armor?
How do I score and fold cardboard without breaking it?
How do I make a costume without sewing?
What is EVA foam and how do I use it for costumes?
How do I paint and weather a costume prop?
How do I make a simple costume pattern?
How do I make animal ears that stay on?
How do I style a wig for a costume?
How do I add padding to a costume safely?
How long does a DIY costume take?
How do I fix a costume that is not working?
Is hot glue safe for children?
Can I wash a DIY costume?
Keep going