Cardboard knight costume, in four steps
Build a cardboard knight costume in four steps: cut, score and shape, fix together, paint and finish. Materials, time, safety and kid and adult versions.
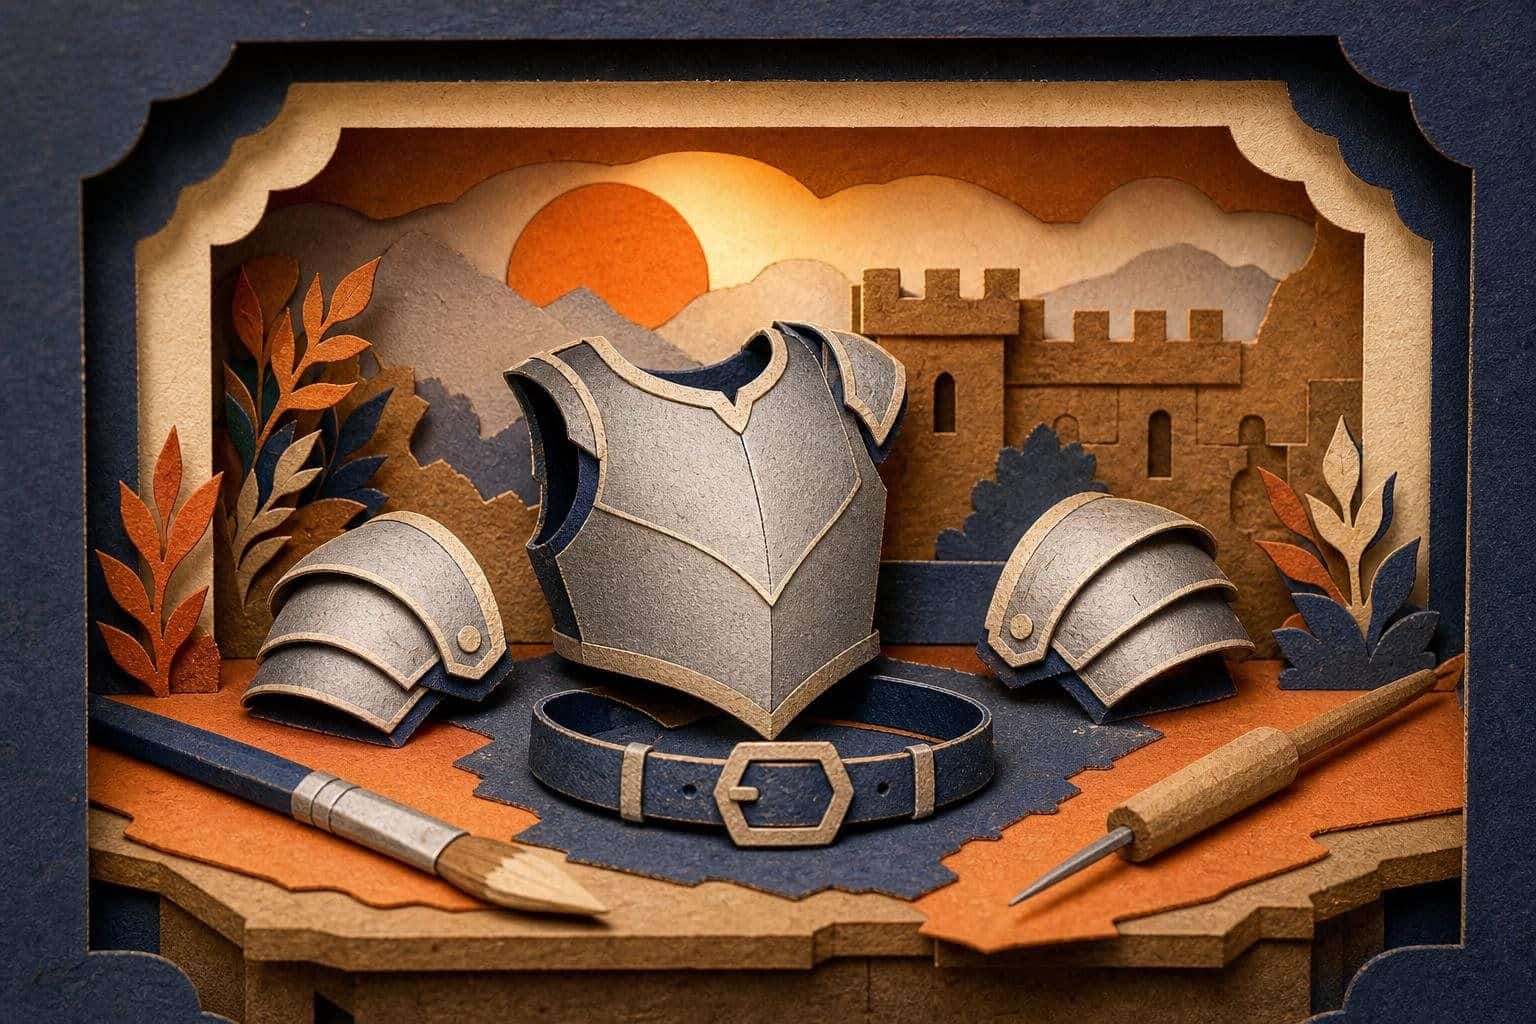
A cardboard knight costume is one of the most satisfying builds you can do at the kitchen table, because it uses almost nothing: a few flat boxes, tape, a pencil and paint. The whole project runs in four steps: cut the pieces, score and shape them, fix them together and paint and finish. This guide follows those four steps exactly, with the reason behind each one.
The set has five parts: a chest plate, two shoulder guards and a belt. That is enough to read clearly as armor at a school day, a party, a castle visit or a faire. If you want a full period look, pair it with ideas from the Renaissance costume guide.
Quick facts
| Child version | Adult version | |
|---|---|---|
| Time | About 3 hours, plus drying | About 4 hours, plus drying |
| Difficulty | Easy, with adult cutting help | Easy to medium |
| Rough budget | Close to nothing if you reuse boxes, a few dollars for paint | A few dollars for paint and tape |
| Age | 5 and up with supervision | Any |
Materials
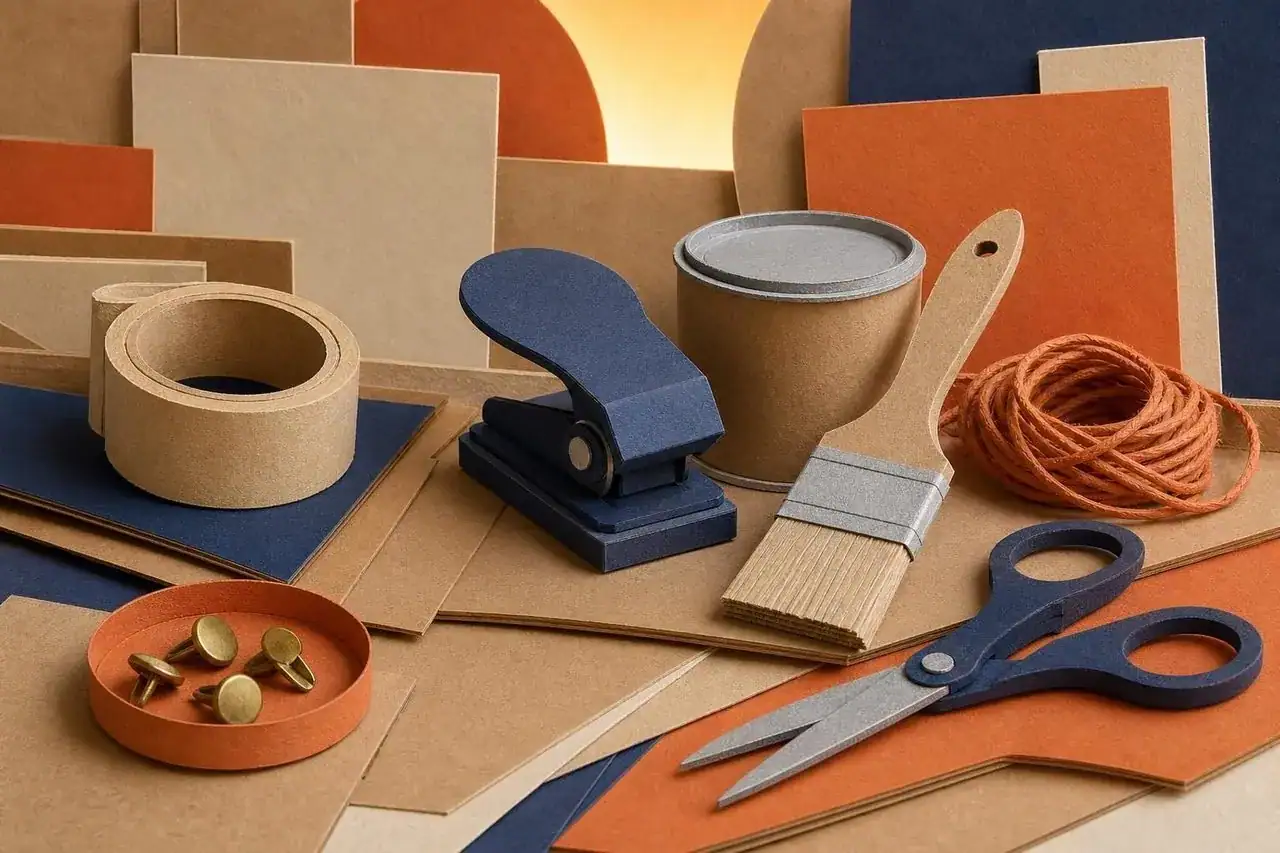
- Flat corrugated cardboard, 3 to 4 mm thick, from boxes (enough for roughly four large pieces)
- Paper for a pattern, such as newspaper or wrapping paper roll ends
- Silver acrylic or spray paint, a dark wash made from black or brown acrylic and water
- Strong tape (duct or packing), plus elastic or fabric straps
- A craft knife or sturdy scissors (adult use only for the knife)
- A ruler, pencil, an empty ballpoint pen for scoring, paper towels and brushes
Step 1: Cut the pieces
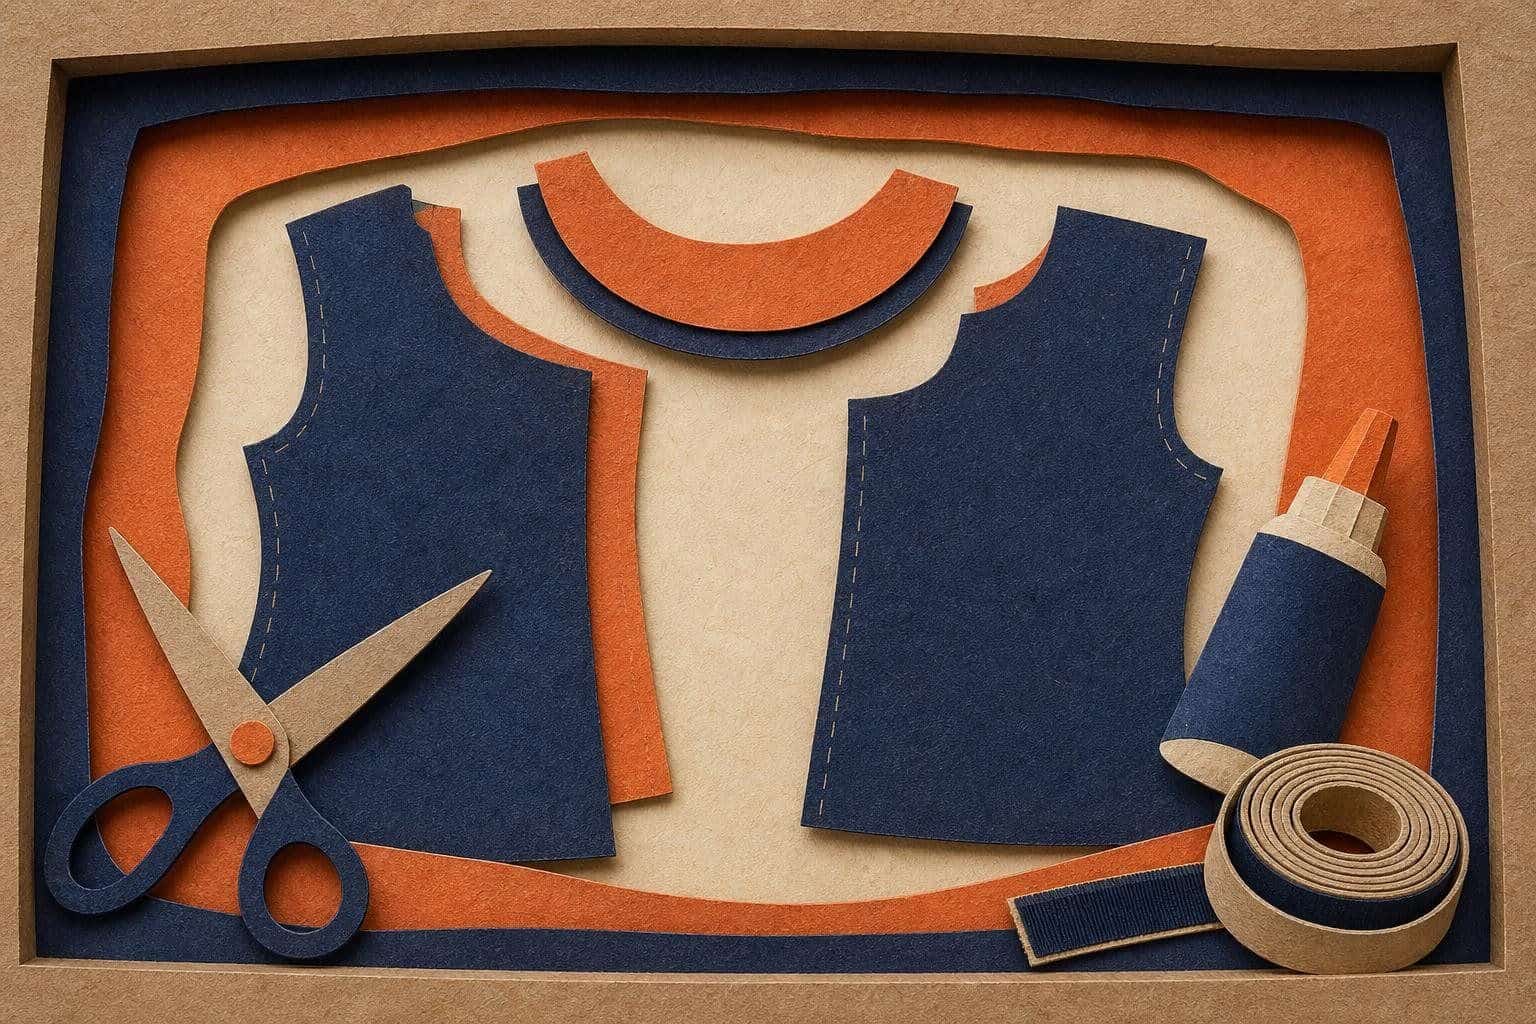
Trace your pieces from a paper pattern onto the cardboard: one chest plate, two shoulder guards and a belt.
Make the pattern first. For the chest plate, hold paper against your chest and mark the neckline, shoulder line and where the waist falls, then add a little extra width at the sides. The shoulder guards are curved crescents roughly 6 by 4 inches for a child and 8 by 6 for an adult. The belt is a long strip about 3 inches wide.
Why a paper pattern? Cardboard cannot be fixed once it is cut, and paper lets you test the fit and change your mind for free. Trace around the pattern with a pencil, then cut with sharp scissors or a craft knife on a cutting mat. Check which way the corrugation runs: it bends most easily across the ridges, so let the ridges run up and down the chest plate so it curves around your body.
Step 2: Score and shape
Score each piece on the face side to bend it where you want it to curve.
Lay the ruler along the line, press an empty pen along it firmly and bend. For a curve, make parallel score lines about 1 cm apart and bend gently. The chest plate usually needs a center line and a slight curve at each side, the shoulder guards need a few curved scores, and the belt needs none.
Why score? The top paper layer fights bending. Scoring cuts only that layer, so the wavy core bends smoothly instead of kinking. Test on a scrap first. If the cardboard cracks, you have pressed too hard.
Step 3: Fix it together
Join the pieces with tape on the inside, never the outside.
Tape the shoulder guards to the top of the chest plate with two strips each. Add an elastic or fabric strap across the back and one under each arm, taped on the inside and doubled for strength. Close the belt with hook-and-loop tape or a taped overlap.
Why on the inside? Tape on the outside shows through paint and peels. Inside tape stays hidden and holds well. Reinforce stress points like the shoulder joints with a second layer. Try the pieces on, check you can raise your arms and sit, and trim anything that digs into your neck.
Step 4: Paint and finish
Paint silver first, then a dark wash, then rub the edges.
Apply two thin coats of silver, letting each dry. Mix black or brown acrylic with plenty of water and brush it over the surface, then wipe the high areas with a paper towel while it is wet so the dark settles into the folds. When dry, rub the edges with a dry brush loaded with a little silver.
Why this order? Silver gives the base shine, the wash adds age and depth in the grooves, and edge rubbing mimics real wear where armor is handled. The three layers make cardboard look like old metal from a meter away.
Common mistakes
- Using cardboard that is damp or oily, which paint will not grip
- Skipping the pattern and cutting directly, which wastes a box
- Putting tape on the outside where paint will not stay
- Making the chest plate too long to sit in
- Painting too thickly, which makes the cardboard warp
- Leaving sharp corners at the shoulder or edges
Safety notes
A craft knife should only be used by an adult or a supervised teen, always cutting away from the body. Spray paint needs ventilation and is for adults, and washable acrylic is a safer choice for children. Cardboard is flammable, so keep the finished costume away from candles, jack-o’-lantern flames and heaters. Round every corner and cover any rough edge with tape. Make sure straps are loose enough to remove quickly and that nothing restricts breathing, vision or the ability to sit. See the costume safety guide for general rules.
Adapting for a child
Cut thinner and smaller, keep the chest plate short and wide, and use elastic straps with soft tape. An adult does the cutting, the child scores, paints and decorates. For small children, make the shoulder guards optional, since they can slide forward.
Adapting for an adult
Double the chest plate with a second sheet glued flat for rigidity. Add a gorget or collar from a curved strip, cardboard vambraces on the forearms and a simple tabard in cloth. Use wider straps and test movement thoroughly before an event.
Variations
Use a colored wash for a different order of knight, add a cross cut from felt for a crusader feel or paint gold for a royal guard. For a lighter, softer approach, choose thin craft foam instead of cardboard. For a full look, add a no-sew cape, and see historical costume ideas or fantasy costume ideas for related looks. Younger knights will find more in the kids’ costume ideas, and the DIY costumes index lists more builds.
Where to find good cardboard
Large appliance or furniture boxes give flat, clean panels without printing or tape marks. Cut away any creased areas, and choose panels without crushed corners. Corrugated card with the ridges running up and down the chest plate curves around the body best. If you are short on size, tape two panels edge to edge on the inside with a strip across the joint, then paint over the seam.
Making the pieces look like metal
Test the paint on a scrap before touching the finished pieces. Silver paint over a smooth surface looks flat, so a few light dents or rivet dots made from small circles of card add depth. Press a pencil tip lightly to mark rivet lines along the edges, then paint over them. The dark wash settles in these marks and the rubbed silver edge makes them stand out.
Extras that stay light
A simple helmet can be a paper-mache bowl or a card band with a visor flap cut to leave the eyes and face fully clear. A tabard, made from a rectangle of felt with a neck hole and a belt, covers the chest plate straps and adds color. A shield made from a card circle with a strap on the back carries more story than a sword and is safer.
Questions people ask
How long does a cardboard knight costume take to make?
What kind of cardboard is best?
Why do I score the cardboard before bending it?
How do I keep the pieces together without sewing?
What paint gives the best metal look?
Can a child wear this costume all day?
Is it safe to use spray paint for this project?
What helmet or weapon can I add?
How do I make it fit an adult?
How do I fix a dent or tear after the event?
Keep going