A no-sew cape from three pattern pieces
Make a no sew cape from three flat pattern pieces, front left, front right and collar, with one seam, about 40 minutes and a safe breakaway neck closure.
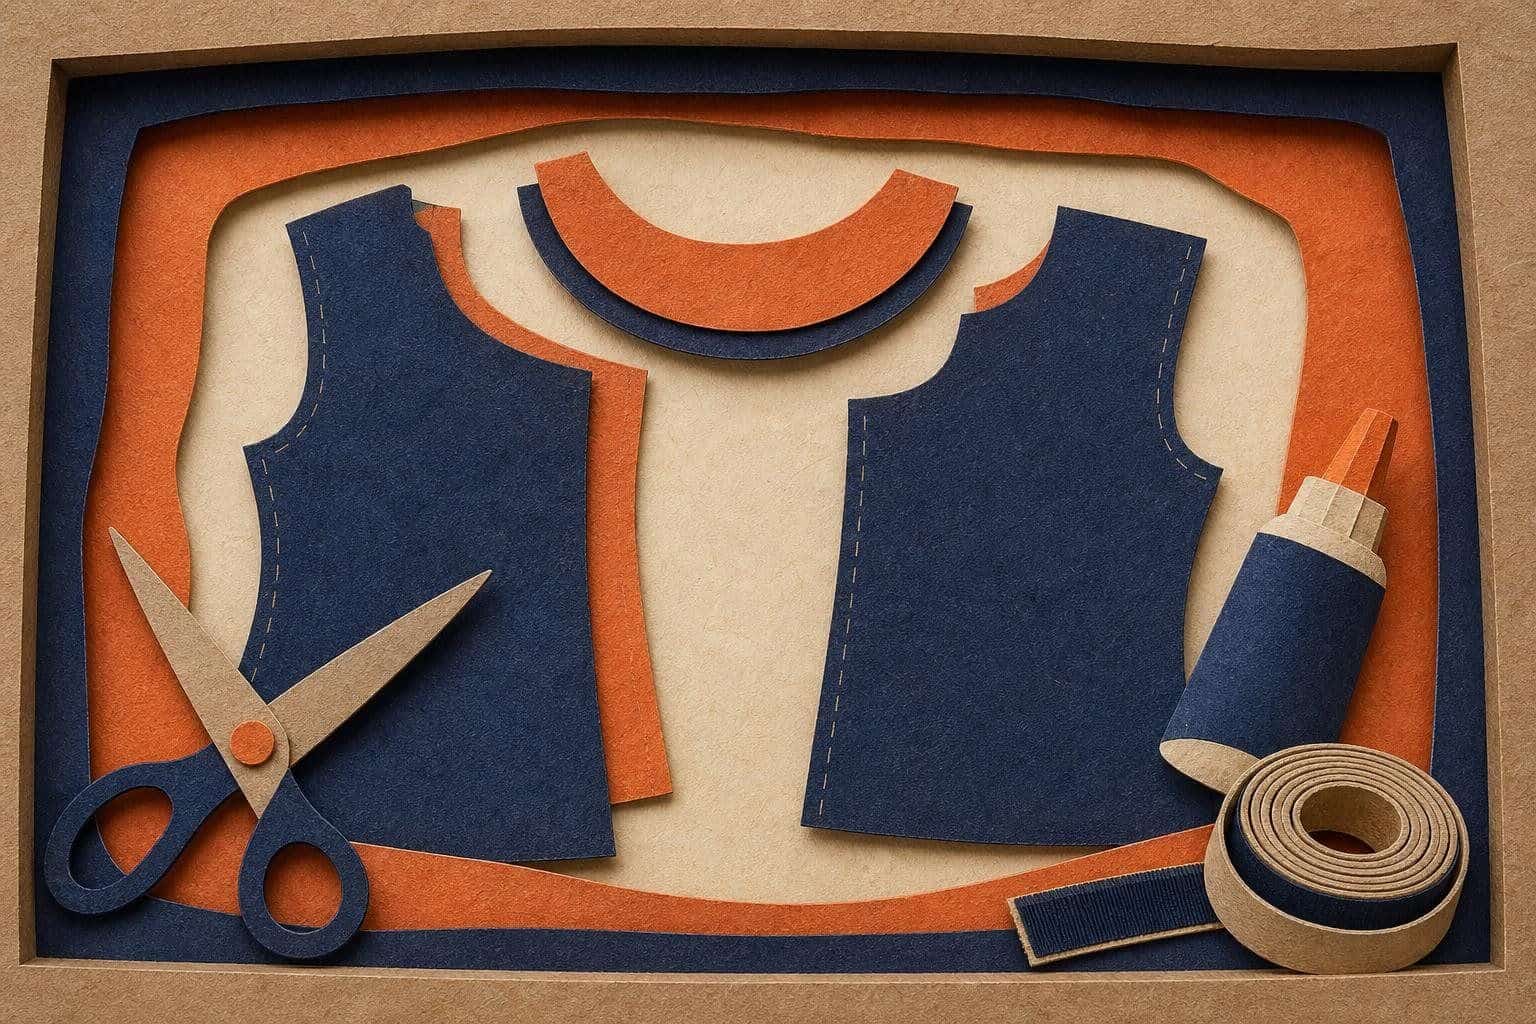
A no sew cape is one of the most useful things you can learn to make, since the same shape works for a superhero, a vampire, a wizard, a knight or a prince. This guide builds a full-length cape from three flat pattern pieces: a front left panel, a front right panel and a collar. There is one seam down the middle of the back, and the whole thing takes about 40 minutes of hands-on time.
You will see how to choose a fabric, cut the pieces, join them without sewing, add a closure that is safe and finish the edges. The safe neck closure matters most for children, so it gets its own section.
Quick facts
| Child version | Adult version | |
|---|---|---|
| Time | About 40 minutes, plus glue drying | About 40 to 50 minutes, plus glue drying |
| Difficulty | Easy | Easy |
| Rough budget | A few dollars of felt or fleece, or free if you reuse a sheet | Slightly more fabric, still modest |
| Pieces | Front left, front right, collar | Front left, front right, collar |
Materials
- 1 to 2 yards of fabric: felt, fleece or an old flat bedsheet
- Fabric glue (washable, non-toxic)
- Hook-and-loop tape, a small square for the neck closure
- Paper (newspaper or wrapping paper) for the pattern, a pencil, a tape measure
- Sharp fabric scissors, pins, a heavy book or two for pressing
- Optional: contrasting felt for a lining or decoration
Choosing the fabric
Felt is stiff, cuts cleanly and never frays, which makes it the easiest first choice. It holds shapes like collars and stands up well, but it is not very warm and can be scratchy near the neck.
Fleece is soft, drapes, does not fray and is warm for outdoor events. It stretches slightly, so cut it with the stretch running across the width.
An old flat sheet is free, light and flows well. Wash and iron it first, and fold or glue a narrow hem so the edges do not fray. Dark colors cover glue marks best.
The three pattern pieces
Draw each piece on paper first and check the fit by holding it against your body.
- Front left panel. A tall rectangle with a gently curved top edge that follows the shoulder, about half the finished hem width plus one inch for overlap.
- Front right panel. The same shape flipped, so the two panels mirror each other.
- Collar. A curved strip about 4 inches tall and long enough to wrap the neck, with a slight arc so it sits flat on the shoulders.
As a starting point, a child’s panels can be about 20 inches wide and 28 to 32 inches long, and an adult’s about 28 inches wide and 40 to 44 inches long. Measure from the base of the neck to where you want the hem to fall and adjust.
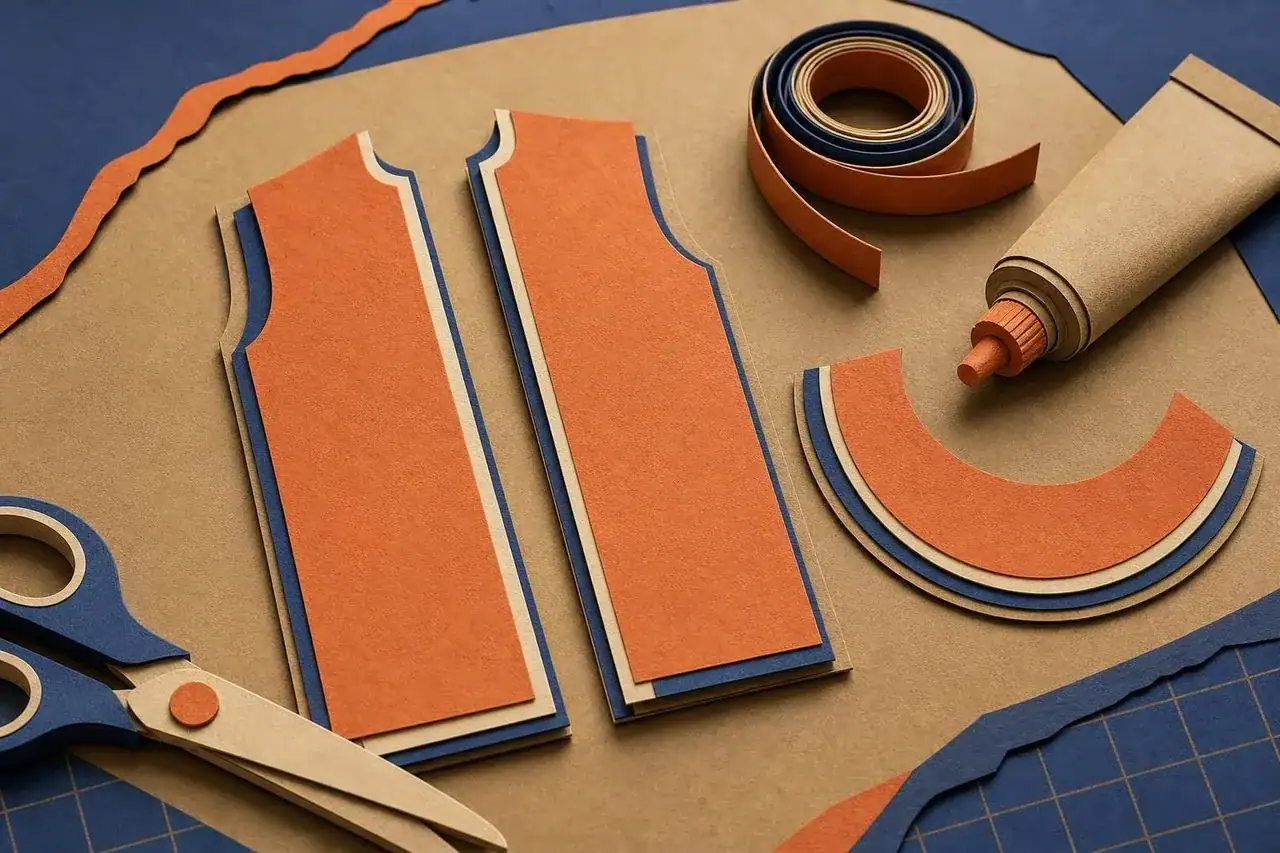
Why three pieces? Two mirrored panels give a natural fall and an easy fit around the shoulders, and a separate collar gives structure at the neck without darts or pleats.
Step by step
1. Measure and draw the pattern
Measure from the base of the neck to the calf (adult) or knee (child), then draw the panels and collar. Why: a paper pattern lets you test length and width before cutting good fabric.
2. Cut the three pieces
Pin the paper to the fabric and cut out two front panels and one collar. Cut the collar twice if you want a double layer. Why: cutting both panels from the same fold or direction keeps patterns and nap matching.
3. Make the one seam
Overlap the straight center edges of the two panels by about one inch and glue them down the middle of the back. Press under a heavy book for at least an hour. Why: the single overlap is the only seam, and pressure while the glue sets gives a flat, strong join.
4. Attach the collar
Glue the collar along the curved top edge on the inside, with the collar edge extending about half an inch above. Hold with pins or clips until dry. Why: attaching to the inside hides the glue and gives a rolled neckline.
5. Add the closure
Fix hook-and-loop tape at the collar ends so they meet at the front of the neck. Why: it pulls apart under a snag, which is the safe choice.
6. Finish the edges
Leave felt and fleece raw, or trim with pinking shears. Fold and glue a narrow hem on a sheet. Why: a clean edge keeps the cape from unraveling after a few wears.
7. Test the drape
Put it on and walk, sit and climb a stair. Shorten the hem if it touches the floor. Why: a cape that drags catches heels.
Closure options without sewing
- Hook-and-loop tape: fast, adjustable and the safest for most capes
- Fabric glue plus a ribbon: only for decorative ties that are sewn or glued to be non-functional, not tied around the neck
- Magnetic snaps for fabric: useful for older children and adults, though some are a swallowing hazard for small ones
- Safety pins on the inside: quick for an adult, but not for children, since they can open
Safe neck closure for children
A cape can catch on a swing, a door or another child. The neck fastening should release with a firm pull. Use hook-and-loop tape with a modest overlap, so it pulls apart under strain, and never use a tied knot, a tight elastic, a heavy buckle or a safety pin. Keep the cape short, ending near the knee, and avoid wearing it on playground equipment, bikes or stairs. Choose flame-resistant fabric near candles. For toddlers, a cape that ends at the hip and has a very light closure is best. The costume safety guide covers wider checks.
Common mistakes
- Cutting the second panel the same direction rather than flipped
- Gluing before checking the fit
- Using a heavy glue or an iron-on product on fabrics that melt
- Leaving the cape long enough to drag
- Using a tied closure at the neck
Variations
Add a stiff collar for a vampire or villain look, a hood for a wizard or a contrasting lining for a prince. For a hero, cut a bold shape from felt for the back. See superhero costume ideas and witch and wizard ideas for outfits it completes, pair it with the cardboard knight costume for a full set, and find more projects in the DIY costumes index. Younger wearers will find related looks in the kids’ costume ideas.
Sizing for different ages
Measure from the base of the neck to where you want the hem, and do not guess. A toddler’s cape ends near the hip, a school-age child’s near the knee and a teenager’s or adult’s near the calf. Panel width controls fullness: a wider panel gives more drape and swing, while a narrower one looks sleek. If you are unsure, cut paper panels first and hold them up in a mirror.
Gluing tips
Spread fabric glue thinly with a scrap of card, because thick glue soaks through felt and fleece and leaves stiff patches. Work on a surface covered with baking paper or a plastic sheet so nothing sticks. Clip the seam with clothes pegs while it dries, and check it after an hour. If an edge lifts, add a thin line of glue and press again.
Using the cape for different characters
The same three pieces suit many looks. A short, dark cape with a high collar reads as a vampire. A long, bright cape in a bold color suits a hero. A deep blue cape with felt stars becomes a wizard’s cloak, and a green one with a hood works for a forest character. Change the color, the length and one decoration, and the pattern stays the same.
Questions people ask
How long does a no-sew cape take?
What fabric is best for a no-sew cape?
How do you join the cape without sewing?
How long should a cape be?
What is a breakaway neck closure?
Can I make a cape from an old sheet?
How big should the pattern pieces be?
Can a no-sew cape be washed?
Can I decorate the cape?
Is this safe for toddlers?
Keep going