Make your own Wonder Woman costume
A DIY Wonder Woman costume built from craft foam, felt and a thrifted dress: materials, steps with reasons, kid and adult versions, and safety notes.

A DIY Wonder Woman costume does not need a store pack or sewing skills. With a red top, a blue skirt, craft foam, metallic paint and an afternoon, you can build a look that reads instantly at a party, a school event or a convention. This guide covers the materials, the build in order with the reasons behind each step, and how to scale it for a child or an adult.
Because this is an inspired-by look built at home, you are free to simplify. There are no logos to copy and no official pieces to match. Recognizable color blocking, a tiara, wide cuffs, a coil of gold cord and a shield do the work.
Quick facts
| Child version | Adult version | |
|---|---|---|
| Time | 3 to 4 hours, plus drying | 4 to 5 hours, plus drying |
| Difficulty | Easy | Easy to medium |
| Rough budget | A few dollars of foam and paint if you already own the clothes | Similar, a little more if the base clothing has to be found |
| Skills | Cutting, gluing, painting | Cutting, gluing, painting, light trimming |
Prices vary by area and what you already own, so treat the budget as a hedge, not a promise.
Materials
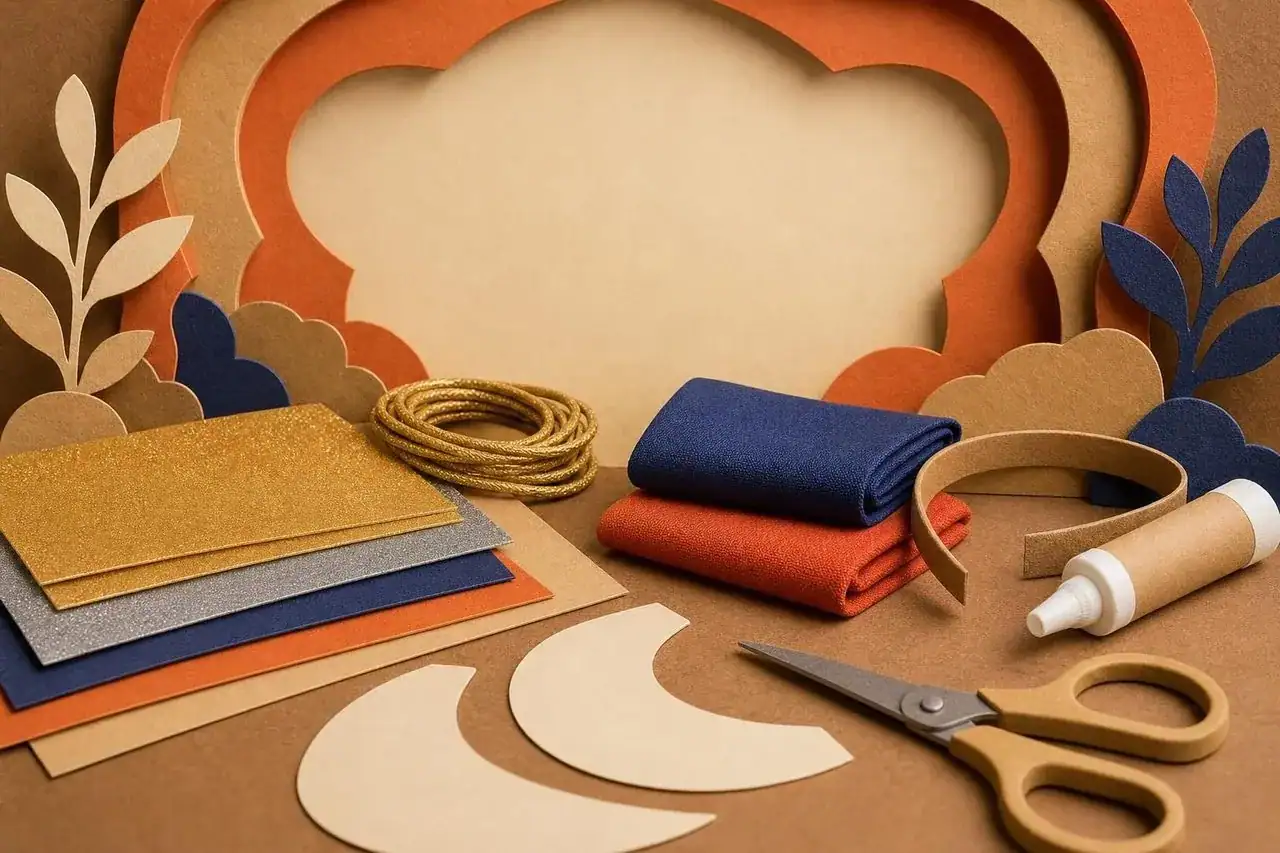
- A red fitted top or dress and a blue skirt or shorts, plain and matte (secondhand is fine)
- Craft foam sheets in 2 mm and 5 mm thickness, or thin cardboard
- Metallic gold and silver acrylic paint, plus a clear acrylic sealer
- A plain headband that fits, felt scraps in white, silver or gold
- Soft cotton cord, about 5 feet, plus gold fabric paint or ribbon
- Fabric glue, a hot glue gun for adults and teens, double-sided tape
- Scissors, a ruler, a pencil, paper for templates
- A cardboard circle, about 20 inches across, or a pizza-box lid for the shield
Step by step
1. Make paper templates first
Trace around your wrist and your forehead on paper and cut rough shapes before touching foam. Why: foam cannot be unglued once you cut it wrong, and a paper template takes two minutes to adjust.
2. Cut and shape the tiara
Cut a gentle V-shaped band about 1.5 inches at the center, tapering at the sides. Press a small star or circle onto the center point. Curve it around a mug or bottle for a few minutes. Why: pre-curving means the piece sits against your head rather than springing flat.
3. Build the cuffs
Cut two rectangles, about 2.5 inches wide, long enough to wrap the wrist with a small overlap. Fix them closed with hook-and-loop tape or a hidden snap so they can be removed. Why: cuffs glued shut are hard to get on over a hand, and a fixed cuff can pinch.
4. Seal and paint
Seal everything with one coat of acrylic sealer, let it dry, then paint with two thin gold or silver coats. Why: foam soaks up the first coat unevenly, and thin coats avoid cracking when the foam bends.
5. Make the shield
Cover a cardboard circle with foil or paint it metallic, add a raised ring of foam about 2 inches inside the edge, and attach a handle from a loop of felt or a strip of cardboard on the back. Why: a rear strap lets a child hold it without gripping, and a foam ring gives depth for very little effort.
6. Prepare the rope
Cut cord to length, paint it with gold fabric paint or wrap it in ribbon, and finish the ends with tape to stop fraying. Why: loose ends look messy in photographs and catch on things.
7. Add the details to the clothes
Cut small stars from white felt and glue them in a row to the skirt hem or hip. Add a thin gold band at the waist if you like. Why: details give a plain red and blue outfit its identity, and a single repeated shape looks deliberate.
8. Fit and test
Put everything on and walk, sit, climb stairs and raise your arms. Adjust anything that slips or pinches. Why: a costume that works only when standing still will be taken off in an hour.
Common mistakes
- Painting before sealing, which leaves a patchy, dull finish
- Making the tiara too heavy or wide so it slides forward
- Using real metal edges or sharp points on any prop
- Hot gluing directly onto skin-contact surfaces, which can burn if the glue is still soft
- Choosing glossy fabrics that look cheap under flash photography
Safety notes
Hot glue guns reach temperatures that cause real burns, so children should use fabric glue or tape, with an adult handling any hot glue. Keep paint outside or in a ventilated room and read the label. Make sure the tiara does not cover the eyes and that nothing on the head blocks side vision. Avoid long dangling cord for toddlers, since a lasso can wrap around a neck. Hang the rope from a belt loop with a hook-and-loop join that pulls apart, and never loop it around a neck.
Adapting for a child
Use thicker, softer foam, round every corner and keep the shield under 14 inches. Skip the shoes with heels. Let the child choose which details to paint, because ownership keeps a costume on longer than any other trick. For parties with lots of running, make the rope short and hang it from the belt loop on a single loop.
Adapting for an adult
A structured base, such as a stiff foam core or thin plastic sheet inside the tiara, helps for evening events. Choose a dress with some stretch, wear shorts under a short skirt, and pack a small repair kit with safety pins, extra tape and a tube of fabric glue. If you will carry the shield all day, add a second strap or a wrist loop so your hand can rest.
Variations
The look works in several directions. For a battle-ready version, add a layer of foam armor on the forearms. For a lighter version, drop the shield and focus on the tiara and cuffs. For a group or a family, pair it with a no-sew cape for a sidekick. Browse other superhero costume ideas to find characters that share the same build techniques, and see more homemade projects in the DIY costumes index.
Finishing and care
Let paint cure for 24 hours before wearing, store flat rather than crushed in a bag, and refresh the metallic finish with a light touch-up if edges scuff. A pair of finishing touches such as gloves, an arm strap or a simple accessory can turn a basic build into a complete outfit, and the costume safety guide covers the points that matter most when children wear it.
Planning the build in two sessions
Split the work so nothing is rushed. On the first evening, make the templates, cut the foam, shape and seal the tiara, cuffs and shield, and apply the first coat of paint. Leave everything flat overnight. On the second day, add the second coat, glue the felt stars, prepare the rope and do a full fitting. This pace also suits children, who lose patience while paint dries.
Getting the colors right
Red and blue read as heroic when they are saturated and plain. A faded or patterned top weakens the look, while a solid color with a slight stretch photographs best. If your skirt is a slightly different blue from the top’s red undertone, do not worry: metallic gold and silver accents pull the whole outfit together. Keep the metallics consistent, using one gold and one silver across tiara, cuffs and rope.
Keeping it comfortable all evening
Foam pieces can rub, so line the inside of each cuff with a strip of soft felt. Pad the tiara’s ends with a little felt where they meet the temples. Carry a small bag with spare tape, a safety pin and a bottle of water, and take the shield off whenever you sit or eat, since it is the piece most likely to be knocked or bent.
Questions people ask
How long does a DIY Wonder Woman costume take to make?
What is the cheapest way to get a red top and blue skirt?
What material is best for the tiara and bracelets?
Can a child wear this costume to school or trick-or-treating?
How do I make the lasso without special rope?
Is this an official Wonder Woman costume?
How do I keep the tiara from slipping?
How can I add the star detail on the skirt or top?
What shoes work with this costume?
Can I adapt it for an adult at a party or convention?
Keep going