No-sew Halloween costumes for kids
No sew kids Halloween costumes you build together: ten ideas, which tasks suit which age, and which tools are safe for ages 3 to 12.
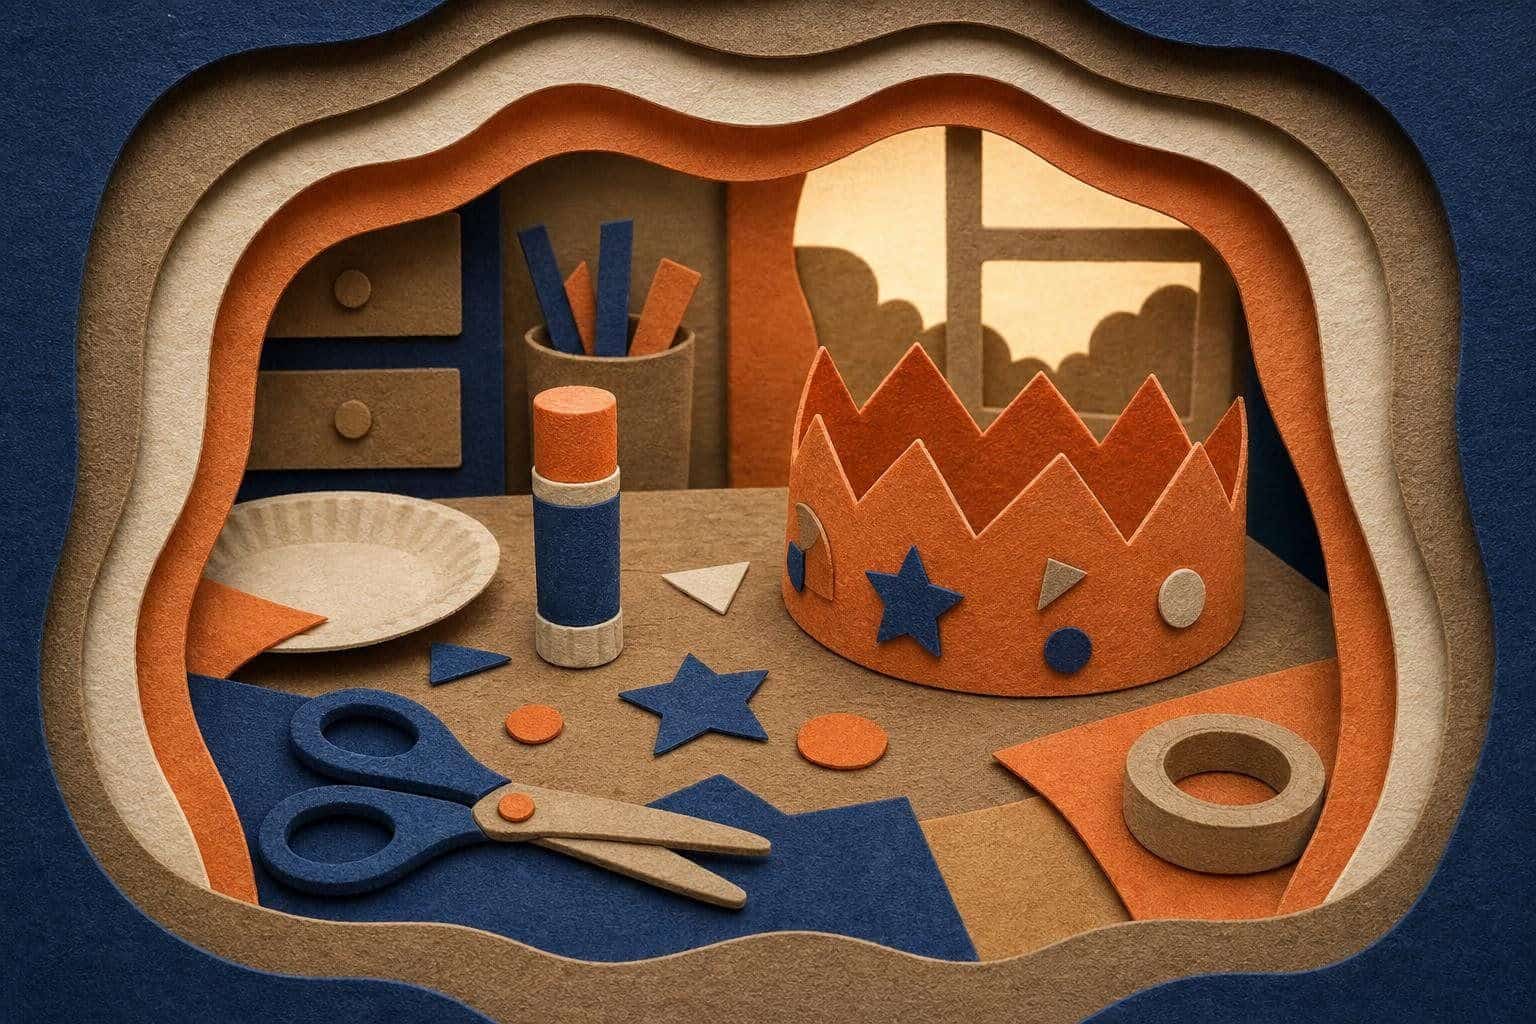
No sew kids Halloween costumes are the easiest way to give a child something they helped create. This guide has ten builds made with tape, glue, felt, cardboard and safety pins, along with what tasks suit each age and which tools are safe at each stage. The point is not a perfect costume. It is a costume the child can describe proudly to every neighbor. For a wider range of age groups, see the kids’ costume ideas.
Which tasks suit which age
Children differ, so treat these ranges as a starting point and adjust to the child.
| Age | Good tasks | Tools that work | Keep with an adult |
|---|---|---|---|
| 2-3 | Choosing colors, pressing stickers, tearing paper, sponge painting | Washable paint, stickers, sponge | Cutting, fastening, anything small |
| 4-5 | Gluing shapes with a glue stick, coloring cardboard, placing felt | Glue stick, washable markers, round-tipped scissors for paper | Cutting felt or card, pins, tape near the face |
| 6-8 | Cutting simple shapes, folding, taping, measuring against their body | Blunt scissors, fabric tape, double-sided tape | Hot glue, craft knives, face paint |
| 9-12 | Planning, cutting card, using a low-temperature glue gun with supervision, pinning from the inside | Scissors, hole punch, low-temperature glue gun with an adult nearby | Craft knives, any paint near eyes |
Craft knives stay with adults at every age. Anything sharp or hot gets the same simple rule: if you would not hand it to the child in the kitchen, do not hand it to them at the craft table.
Before you start
- Ask the child for the idea. Offer three options if they cannot decide. Start from what they already love.
- Check what they can wear under it. Warm clothes, soft fabrics, shoes that already fit.
- Set the time. Most of the builds below take 30 to 90 minutes, including the child’s breaks.
- Lay out the table. Tape, glue and felt in separate bowls, a wipe-clean cover, a chair at the right height.
If you want to compare more ideas before choosing, the costume idea finder filters by age and effort.
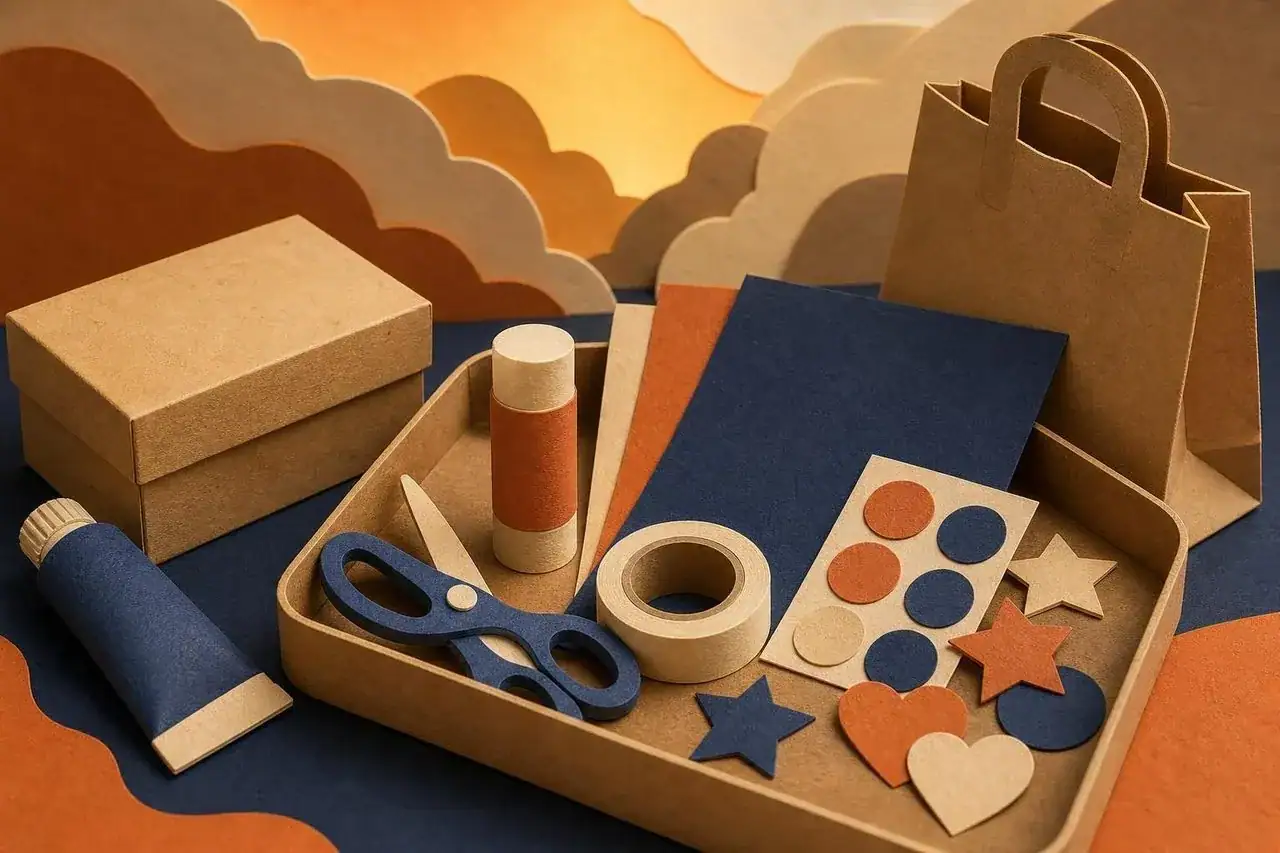
Ten no-sew costumes to build together
1. Cardboard-box robot (ages 4 and up)
Materials: two boxes, foil, bottle caps, tape. Child’s jobs: stick caps, add foil, draw dials. Adult’s jobs: cutting neck and arm holes. Make the box light, with rounded corners and large armholes.
2. Superhero with a felt emblem (ages 3 and up)
Materials: a T-shirt or pillowcase cape, felt, a glue stick. The child chooses and glues a symbol. Follow the no-sew cape guide for a neck fastening that releases if the cape is grabbed.
3. Paper-plate lion or cat (ages 3 and up)
Materials: a paper plate, strips of yellow and orange paper, a headband. Children snip fringe, glue it around the edge and add whiskers. An adult cuts the eye holes and fixes the plate to a headband, rather than using elastic around the head.
4. Bumblebee (ages 2 and up)
Materials: a yellow shirt, black fabric tape, felt wings, pipe-cleaner antennae on a headband with rounded ends. Children place the stripes, adults pin wings from the inside. Very good for small children and doubles as a warm layer.
5. Mummy (ages 4 and up)
Materials: strips cut from an old white sheet, safety pins. The child wraps strips around a long-sleeved shirt and leggings, adults pin. Loose at the knees, nothing on the neck.
6. Pumpkin or fruit (ages 2 and up)
Materials: an orange shirt, green felt leaf hat, black felt face. Children glue the features. A pumpkin is gentle and works well for babies and toddlers.
7. Knight (ages 5 and up)
Materials: cardboard, foil, a belt, a paper-plate shield. Children decorate and cover the shield with a symbol they design. Keep the sword to rolled card with a rounded tip. The cardboard knight costume page shows the full build.
8. Space explorer (ages 4 and up)
Materials: a gray sweatsuit, a foil-wrapped box backpack, a clear bowl-shaped visor made from cardboard cutouts with big openings. Never cover the face. A children’s helmet should leave full vision, and the space and sci-fi costumes page has more ideas.
9. Ghost in a pillowcase poncho (ages 3 and up)
Materials: an old pillowcase or light cotton sheet, a marker. Cut a wide face opening instead of small eye holes, and keep the hem above the ankles. Add reflective tape.
10. Wizard or witch (ages 5 and up)
Materials: a paper cone hat made from poster board, a scarf as a cloak, a wand from a rolled paper or a dowel with a rounded end. Children paint stars. See the witch and wizard costumes for variations.
How to run a costume-building session
A small plan keeps the evening calm and the result better.
- Talk before touching. Spend five minutes on the idea. Ask the child to describe the character and the one thing everybody must recognize, such as the wings, the hat or the color.
- Gather and sort. Put tape, glue, felt and paper on a tray, so small pieces stay together and you can see what is left.
- Test on the child early. Hold the main piece up against the child’s body before gluing anything. It is far easier to resize a flat shape than a finished one.
- Work in short blocks. Fifteen to twenty minutes of making, then a break, is about right for a young child. Older children may go longer.
- Dry time counts. Glue and paint need to dry before wearing. Make the wet parts first, then do a dry task while you wait.
- Try the whole costume once. Do a walk, a sit and a stair climb a day before Halloween, so there is time to fix a problem.
Tools by age, in more detail
- Blunt or round-tipped scissors suit most children from about four, for paper. Felt and thin card need more control, so help with those.
- Glue sticks are the first adhesive for young children. They hold paper, felt and light card, but not heavy cardboard.
- Washable white glue holds longer, takes time to dry and spreads easily, so give the child a small pot and a brush.
- Fabric tape and double-sided tape are fast, and hold felt to cloth well for one evening. Keep tape off skin and hair.
- Safety pins are an adult job. Pin from the inside, close them, and cover the point with a bit of tape.
- Hot glue stays with adults, or with an older child with an adult beside them, using a low-temperature gun and a heat-safe mat. Keep a bowl of cool water nearby in case of a burn.
- Paint and markers should be washable and non-toxic, and any paint on skin must be labeled for that.
Making it last, and making it theirs
Children often want to wear the finished costume for days. A little reinforcement helps: tape the inside seams of cardboard pieces, add a second pin to anything under strain, and keep a repair kit with tape and pins near the door. Let the child add a final detail of their own, such as a name label on the sleeve or a secret pocket. Take a photograph of the maker beside the costume, since the making is as memorable as the night itself. After Halloween, store pieces in a labeled box for dress-up play, and check later whether a cape or a crown can become something new.
Fixing the common problems
- Hat slides off: tape a strip of felt inside the rim for grip, or use a headband base.
- Cardboard sags: double the thickness or add a rolled-card spine.
- Tape peels from fabric: switch to fabric tape or pin from the inside.
- Child gets bored: stop and pick it up the next day. Fatigue leads to rushed, unsafe cutting.
Safety checklist
Check before leaving the house: they can see, breathe, walk and climb a step, with nothing dragging. Add reflective tape or give them a flashlight. No small detachable parts for toddlers. Skin-safe face paint only, tested ahead of time. The costume safety guide goes deeper on everything above.
Next steps
Keep the costume pieces for dress-up play afterwards, since children often wear them again for weeks. For more projects, browse the DIY costumes index, or pick up a speedy idea from the last-minute Halloween costumes list.
Questions people ask
What age can a child start making their own costume?
What is the safest glue for kids making costumes?
How do I attach felt or fabric without sewing?
How can I make a costume that lasts all night?
What are no-sew costumes for toddlers?
Can a child decorate a costume with face paint?
How do I make a costume for a child who hates scratchy or tight clothes?
What should a child wear under a no-sew costume?
How do I involve a child who has limited fine motor skills?
How early should you start so it is not rushed?
Keep going